Hello crafters, hope you are all well!
If you watched Phill’s live on Monday night you will have seen him create a beautiful A5 top fold card using the floramusica range of stamps. For his demo he chose to use the bluebell medley, but you also have a daffodil, rose, tulip, hydrangea, iris, dandelion, lily and daisy medley. Each stamp includes smaller images of keys, postmarks, butterflies, dragonflies and much more. For those that want to get ahead with their Christmas cards, there are also four of those too. Get them whilst they are still in stock as once they’re gone, they’re gone!!!
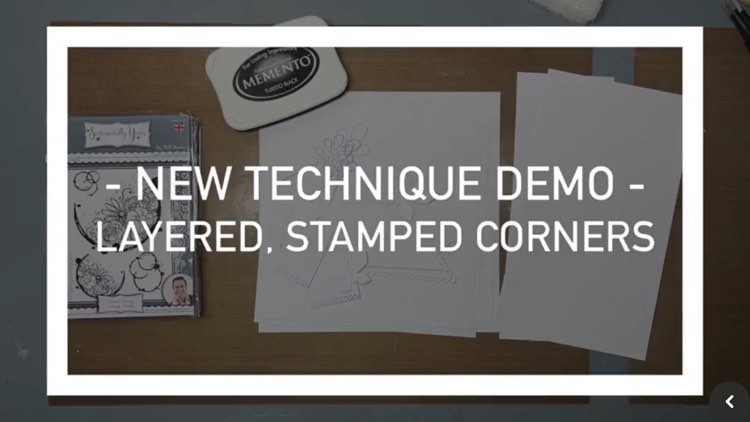
If you would like to watch Phill’s demo again, just click on the image below and it will take you straight there. These demos are so much fun with banter, giggles and of course all the hints and tips.

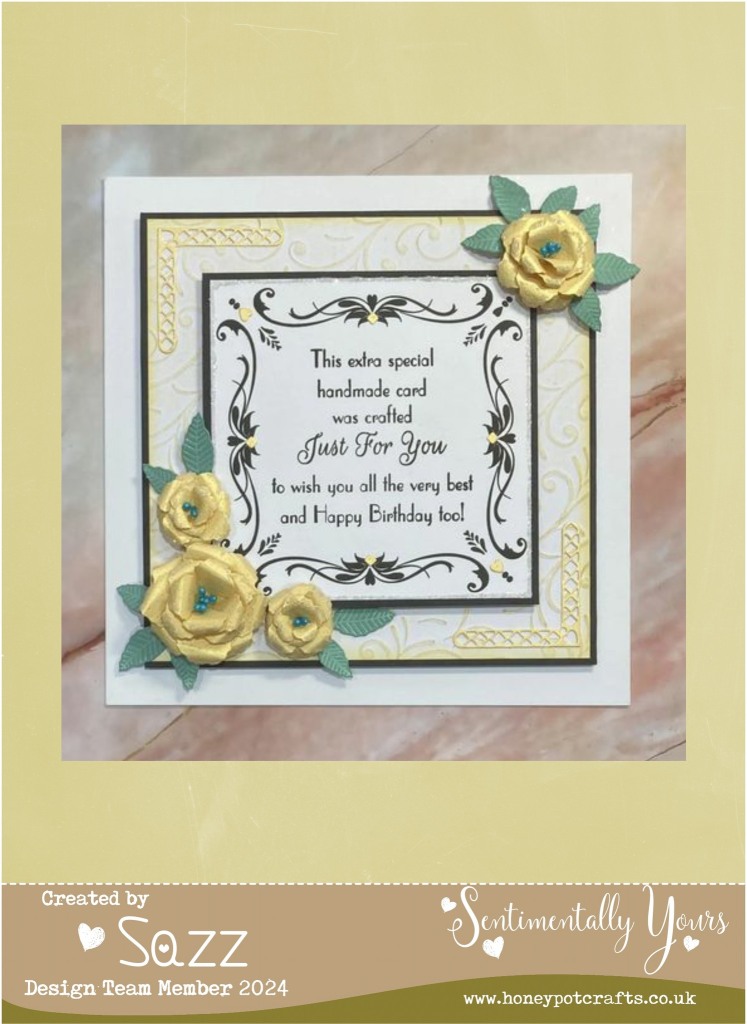
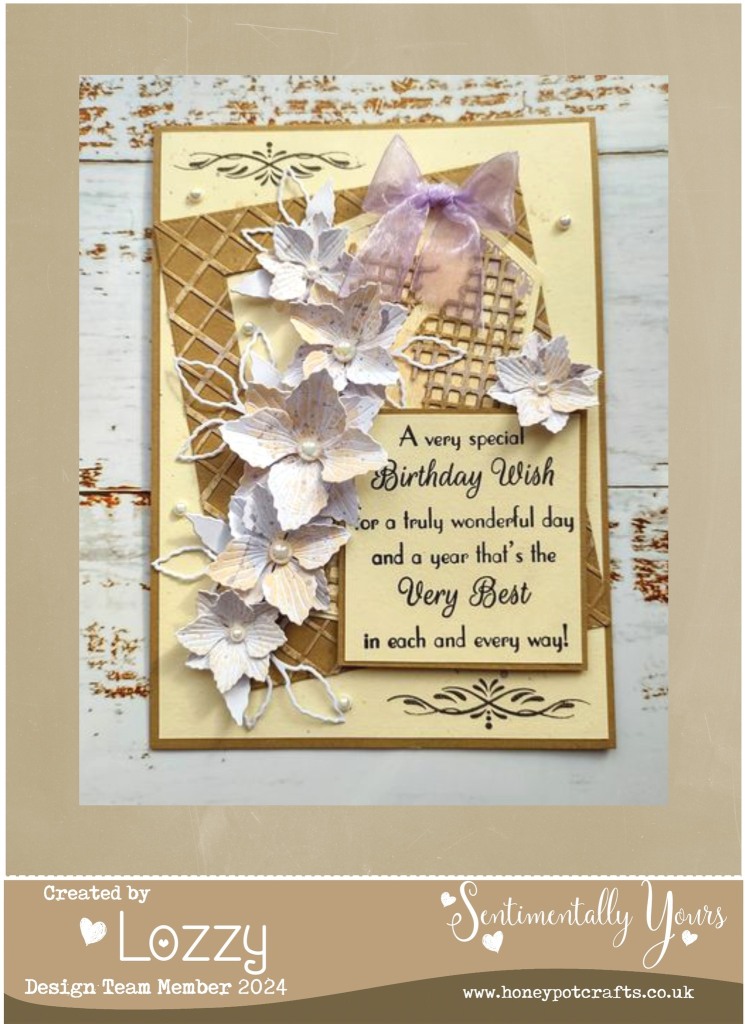
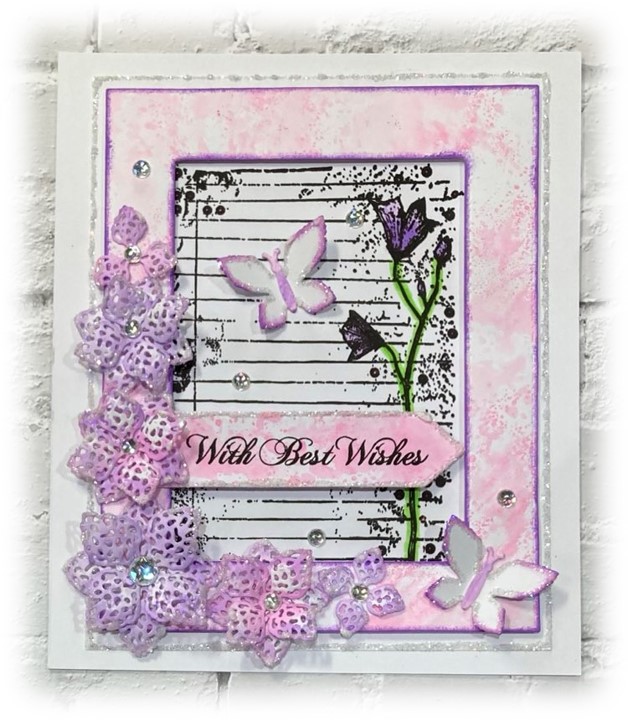
I had fun recreating Phills card yesterday as well as adding my own little touches (those of you that know me, know that I love to be different). So if you would like to have a go, please read on….
Sentimentally Yours Products Used:
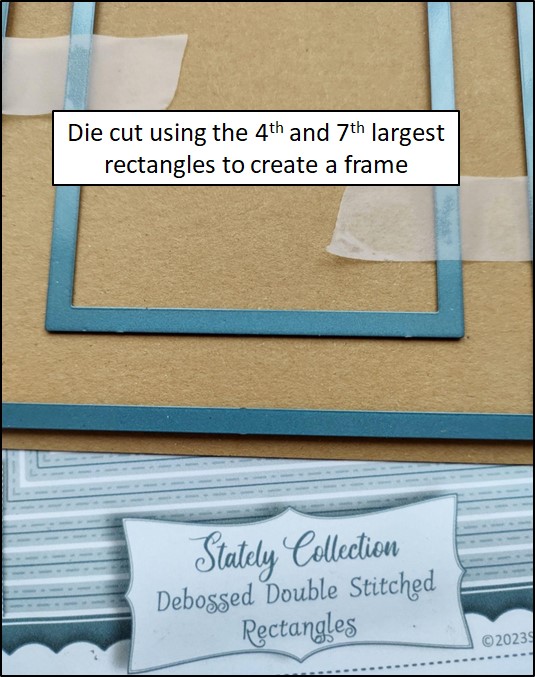
- Stately collection – debossed double stitched rectangles
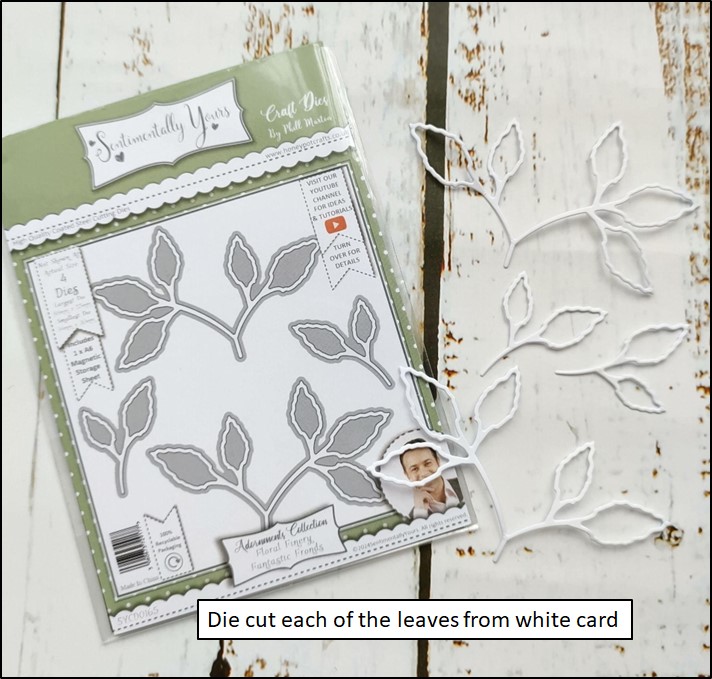
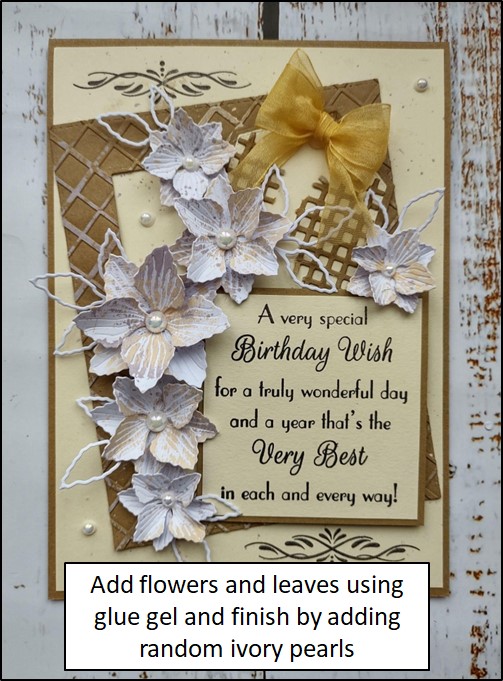
- Adornment collection – lacy loveliness flower dies
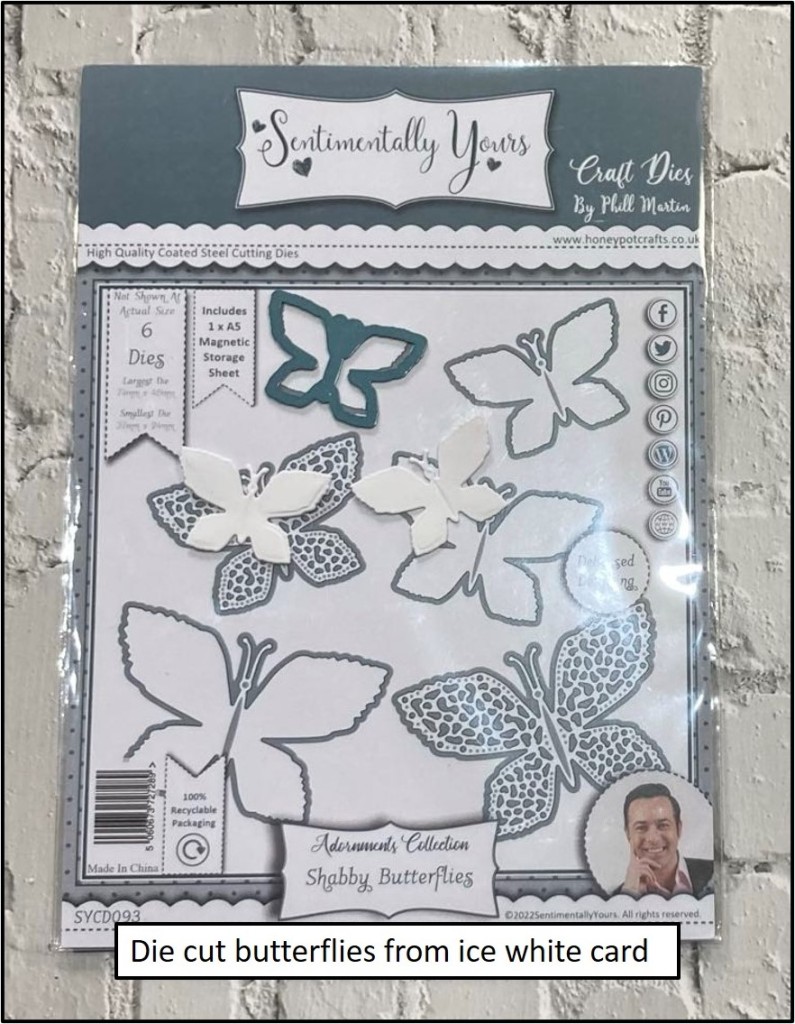
- Adornment collection – shabby butterflies
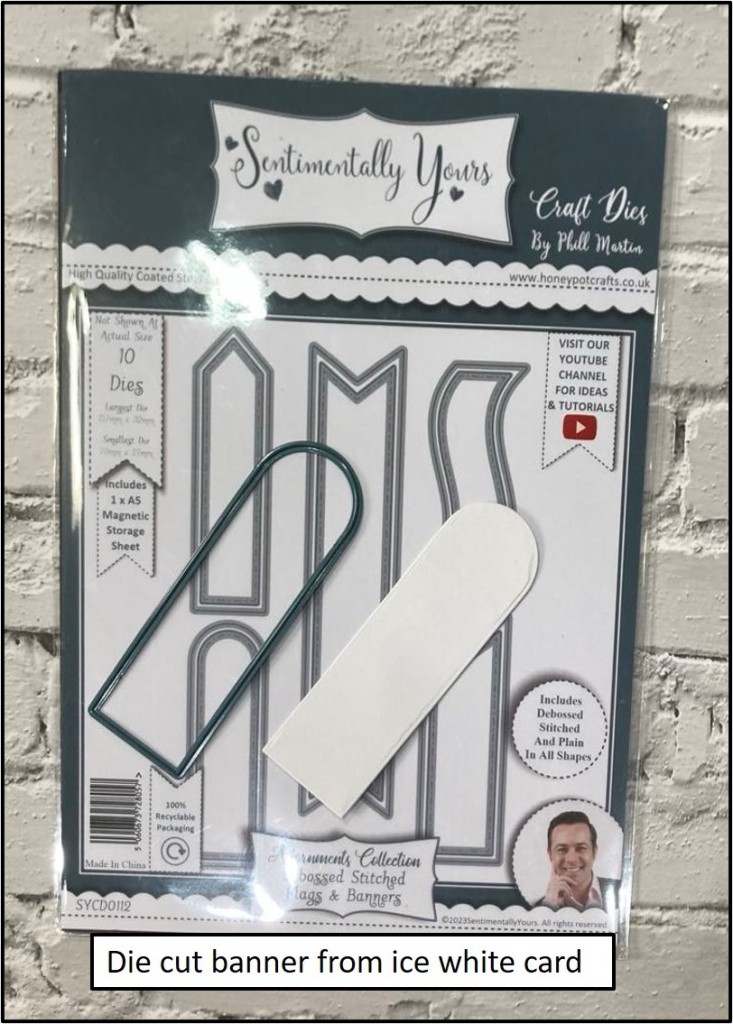
- Adornments collection – debossed stitched flags & banners
- Notebook botanicals – calmness
- Elegance script – essential sentiments
- Essential A4 300gsm card – ice white
- A5 top fold card blanks
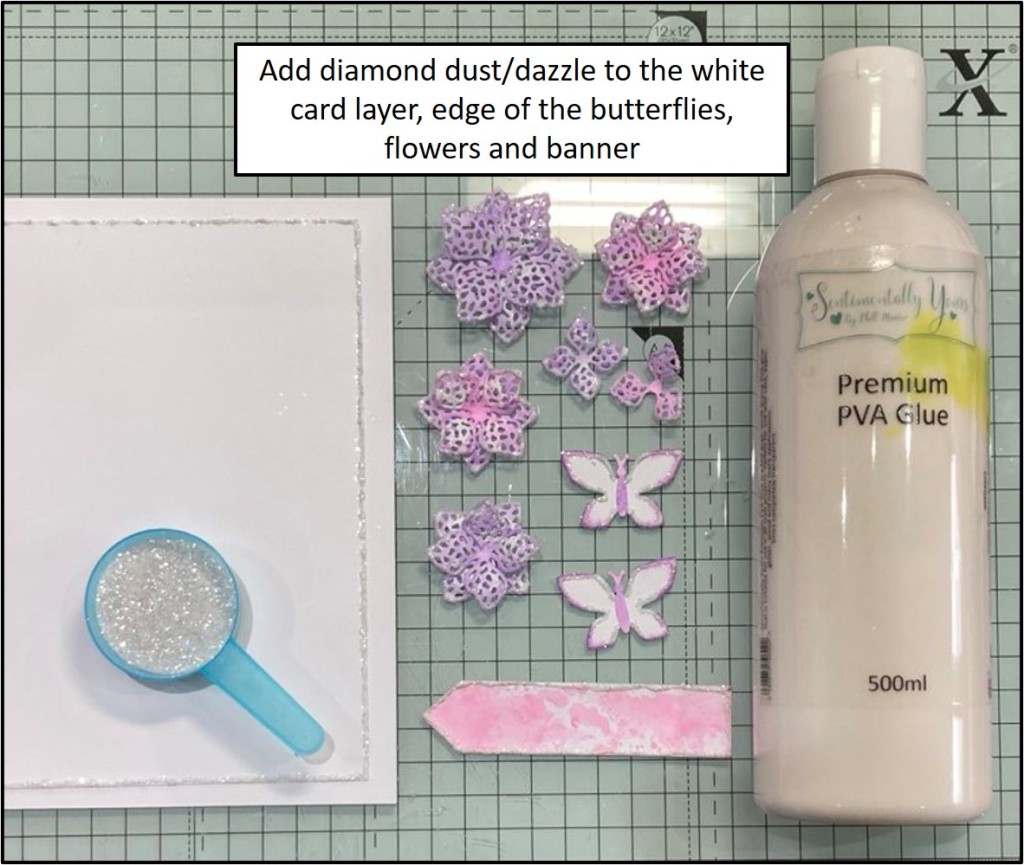
- Diamond dust glitter
- Watercolour blending brush pens
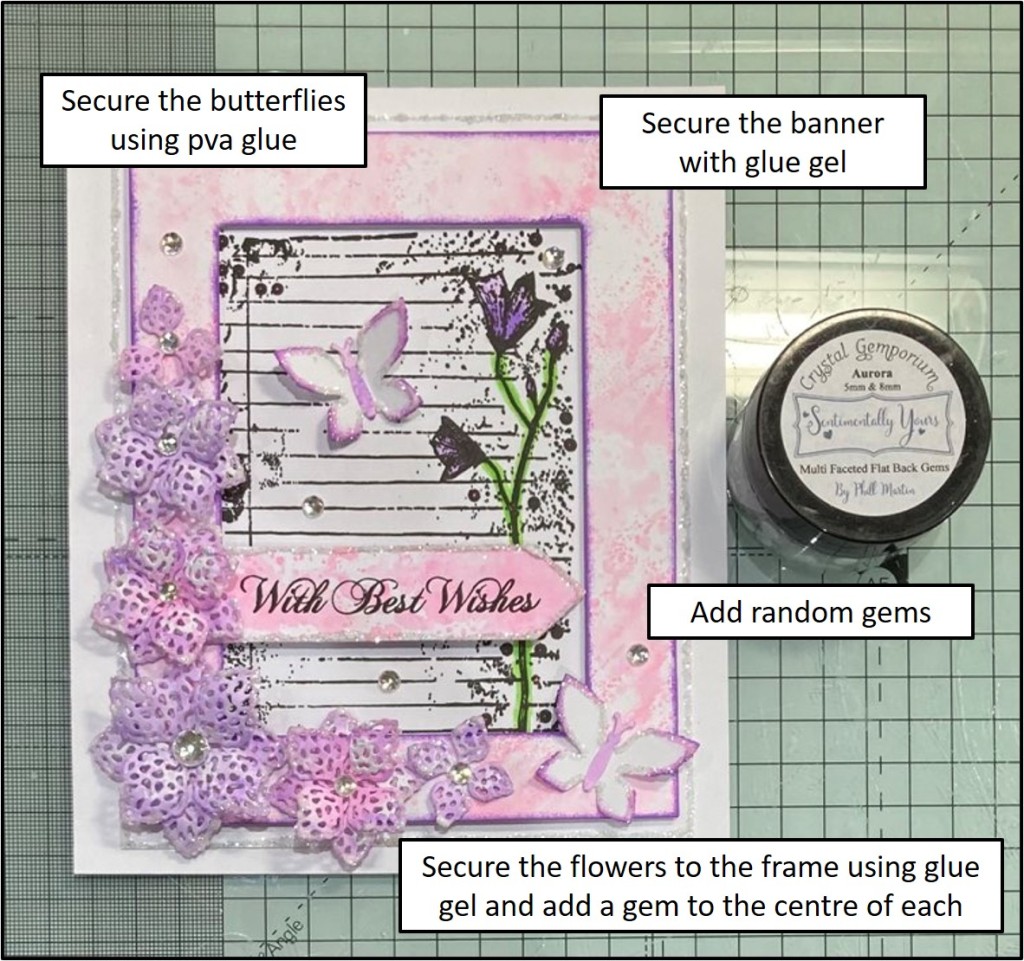
- Gemporium flat backed gems – iced diamond
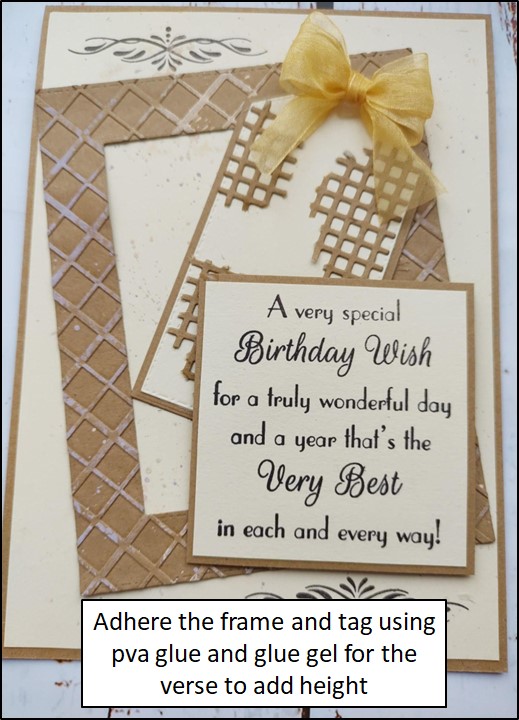
- Premium PVA glue
- Non slip heat resistant craft mat
- Tweezers
Other Products Used:
- Stamping platform
- Manual die cutter
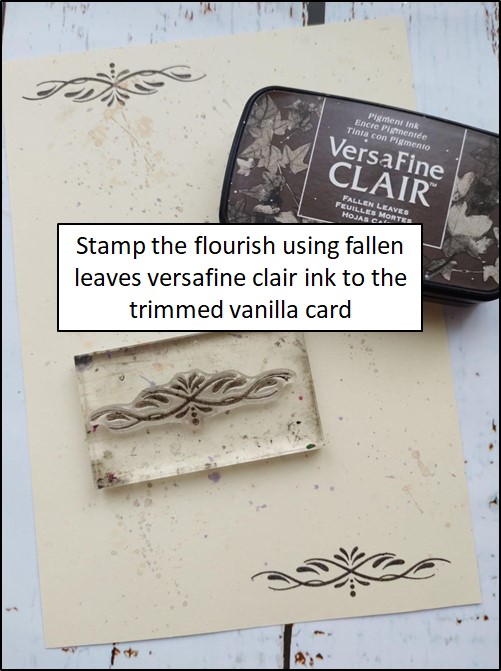
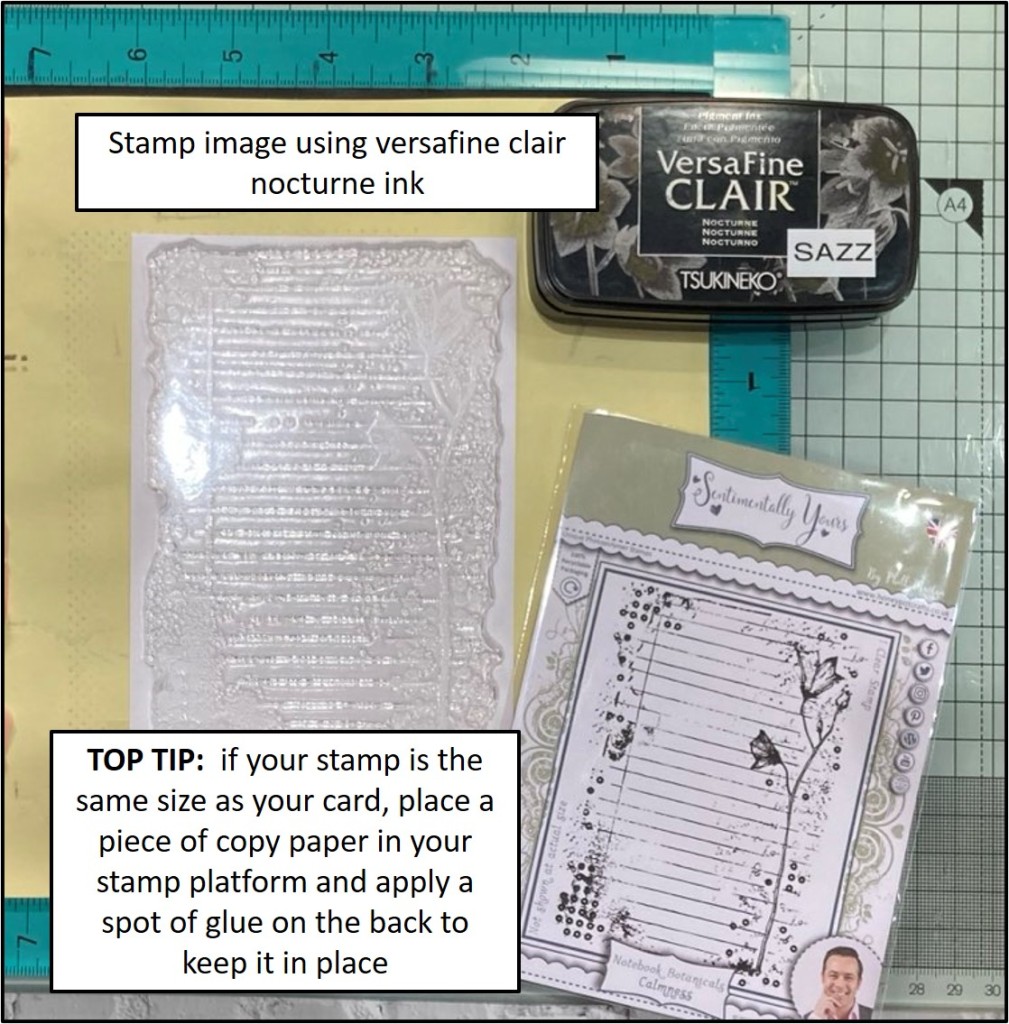
- Versafine clair ink pad – nocturne
- Distress oxide ink – wilted violet
- Finger daubers
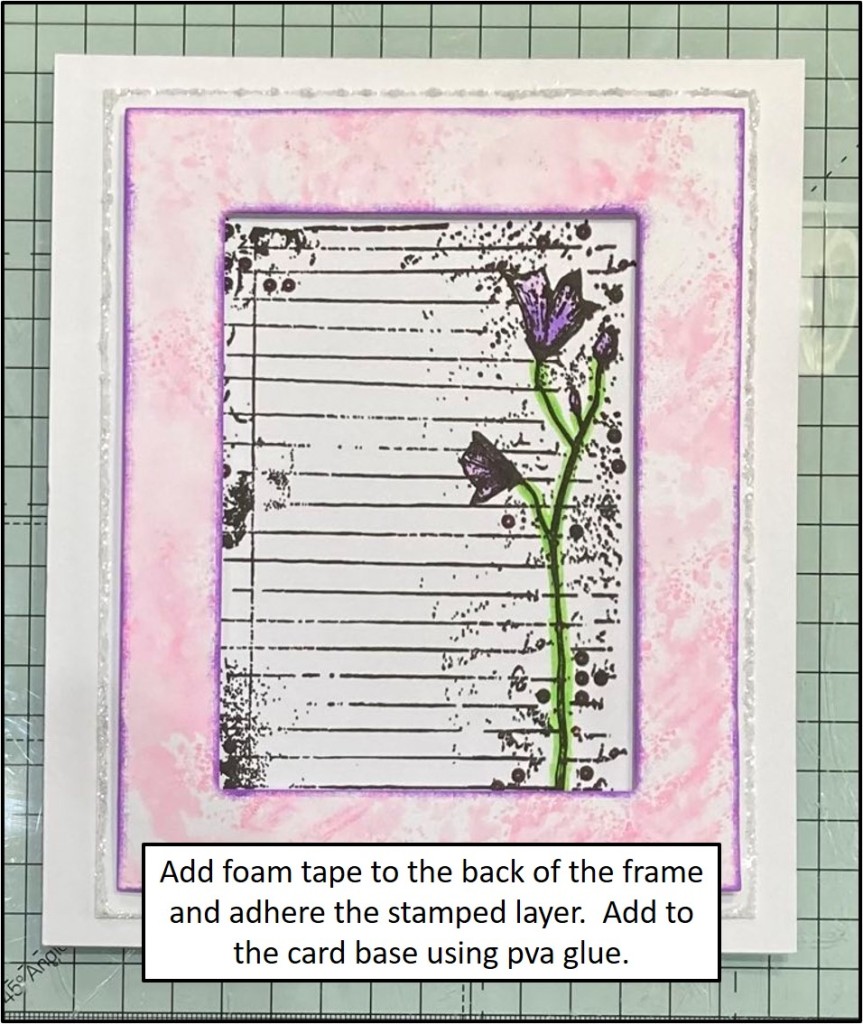
- 2mm foam tape
- Glue gel
Card Layers:
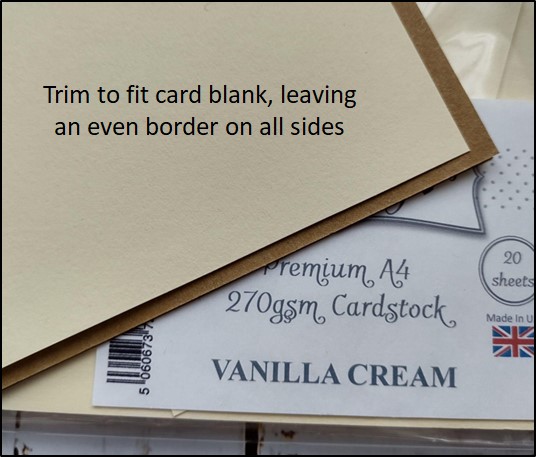
- A5 top fold card blank, cut down to 18cm x 15cm
- Ice white card cut to 13cm x 16.5cm for layering/glittering
- Ice white card cut to 10.5cm x 13.5cm for stamping
- Ice white card 13cm x 16cm to die cut frame
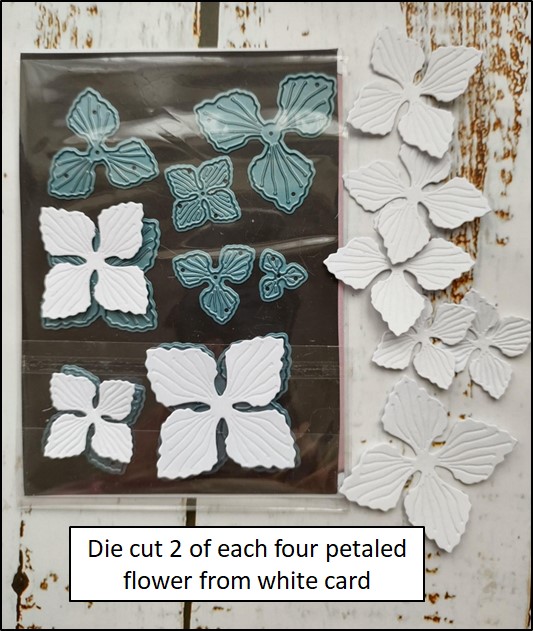
- Scrap white card for die cutting the banner, butterflies and flowers


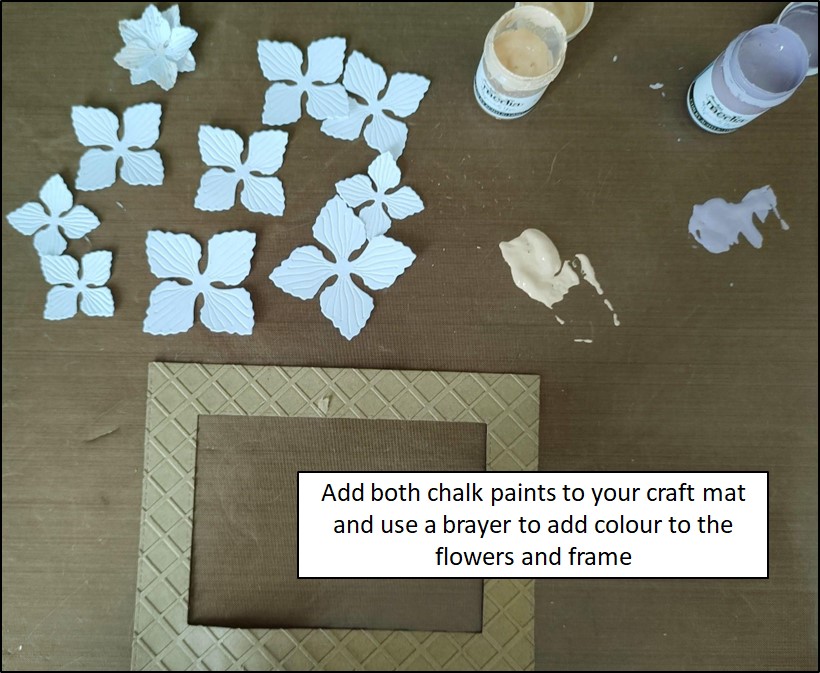
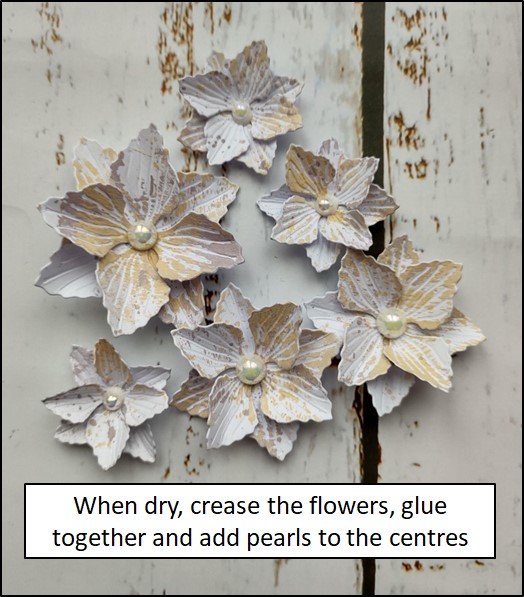
This process was repeated on the banner and half of the flowers.


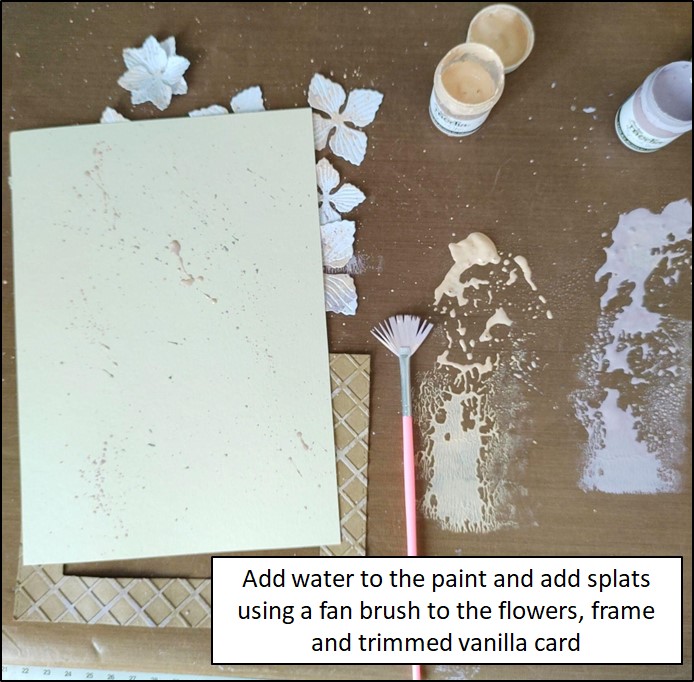
Wilted violet distress oxide ink was added to the edge of the frame and the butterflies using a finger dauber.
Add the ice white card layer to the card base with pva glue.
Hope you’ve enjoyed this tutorial and found it easy to follow. Please leave us a like or a comment so that we know you’re enjoying these tutorials.
Until next time…